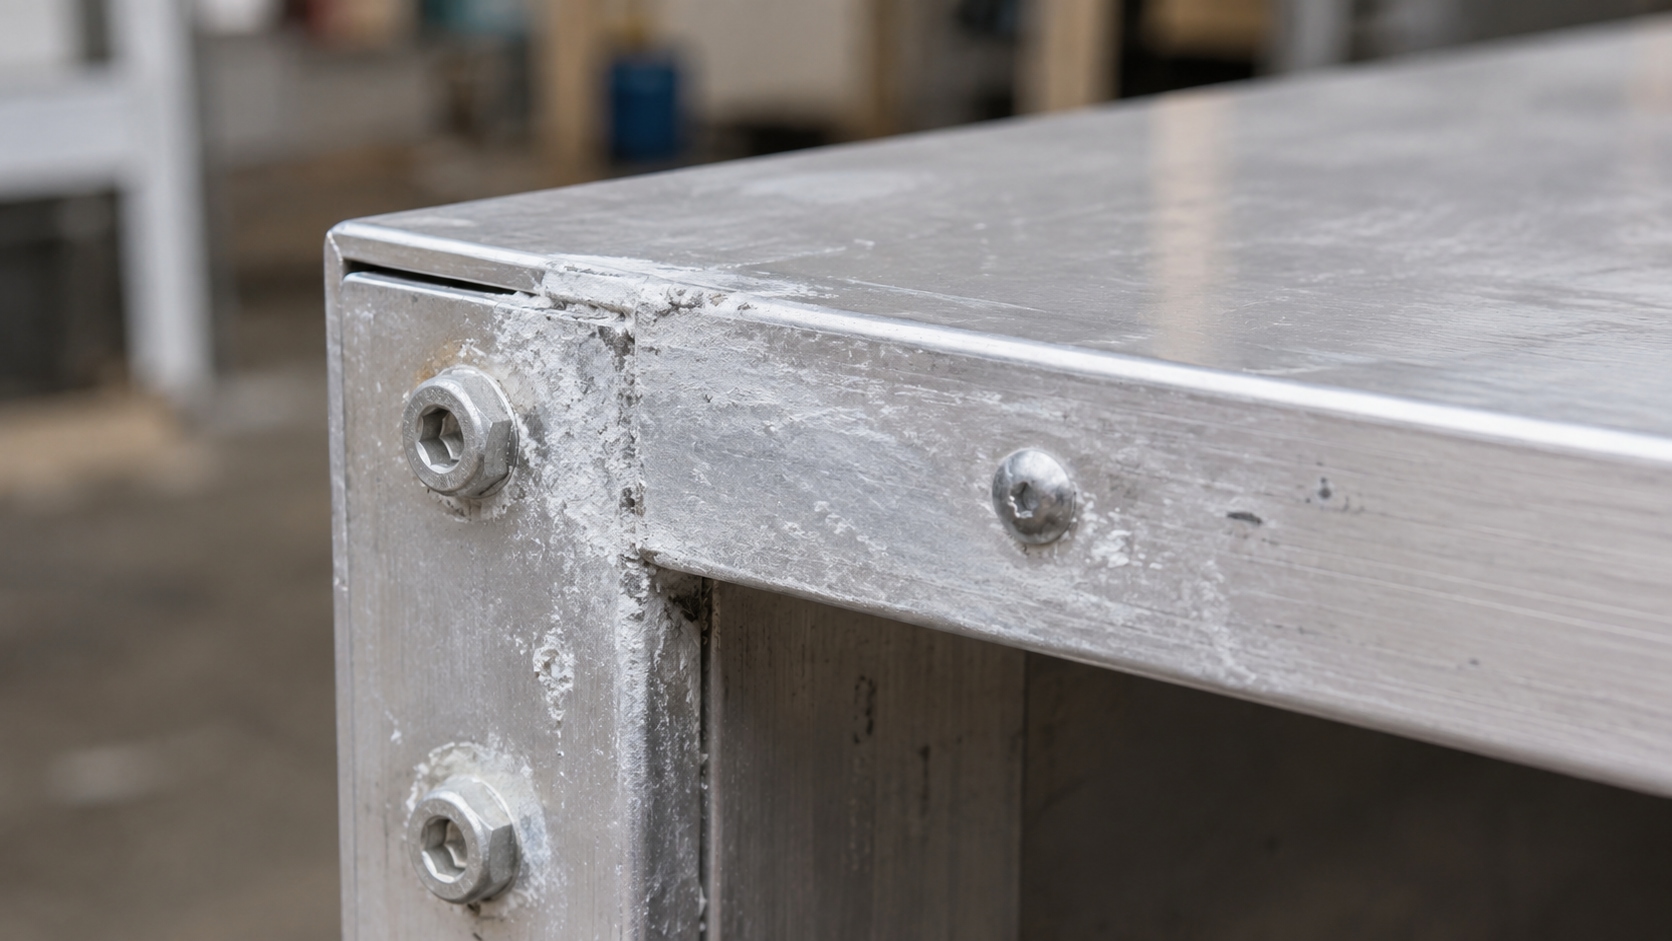
Before cleaning aluminium corrosion, determine whether the problem is surface contamination, coating damage or actual metal loss. Start with the least aggressive method approved for the finish. Cleaning can remove deposits, but it cannot restore thickness lost to pitting or prove that a component is safe to return to service.
Inspect Before Choosing a Cleaner
White deposits, discoloration, pits or lifting coatings can have different causes. The thin protective oxide film on clean aluminium should not be confused with a visible accumulation of corrosion products. Photograph the affected area, identify the alloy and finish if known, and note whether the damage occurs at joints, fasteners, trapped-water locations or exposed edges.
| Observation | Useful next step |
|---|---|
| Loose dirt or water marks | Try a finish-approved mild cleaning process on a small area. |
| Persistent white deposits | Check the coating and environment before selecting a stronger treatment. |
| Visible pits or section loss | Obtain a dimensional or engineering assessment; do not polish away the evidence. |
| Blistered or flaking finish | Review coating damage and the required repair procedure. |
| Damage near another metal | Assess the joint, moisture path and potential galvanic contact. |
A Conservative Cleaning Sequence
1. Identify the surface and protect the work area
Determine whether the part is bare, anodized, painted or otherwise coated. Follow its maintenance instructions and the cleaner’s label and safety data. Protect nearby seals, coatings and dissimilar materials. For electrical equipment, pressure systems or installed machinery, use the appropriate isolation and maintenance procedure before cleaning.
2. Remove loose contamination gently
Use clean water and a soft, clean cloth or approved soft brush where the component permits wet cleaning. Avoid dragging trapped grit across the surface. Replace dirty cloths and rinse water instead of spreading contamination to another area.
3. Use a finish-compatible mild cleaner first
Test a small inconspicuous area and check it after rinsing and drying. Do not automatically apply vinegar, lemon juice or strong alkaline cleaners to an unknown finish. For anodized architectural material, follow the finish manufacturer’s guidance; acidic or caustic solutions can damage the surface.
4. Rinse, dry and reassess
Remove cleaner residue as instructed and dry the accessible surface. Compare the cleaned area with the initial condition. If staining remains, do not keep increasing pressure or abrasiveness. Obtain a finish-specific recommendation before using a more aggressive treatment.
Do not sand, grind or polish corrosion from a structural or precision component merely to improve appearance. Material removal can change dimensions and conceal damage. Cleaning is not an approved repair or a strength assessment.
When Cleaning Is Not Enough
Pitting, recurring deposits, cracking, leakage or coating separation require more than cosmetic treatment. Record the affected location and dimensions and have the responsible engineer or maintenance specialist determine whether further inspection, repair or replacement is needed. A surface that looks brighter can still contain pits or reduced wall thickness.
The assessment is especially important for thin-wall tube, load-bearing parts, pressure-containing components and fatigue-sensitive assemblies. Do not return such a part to service solely because a cleaner removed the visible residue.
Prevent the Same Problem from Returning
- Identify and remove the source of persistent moisture or chemical contamination.
- Review drainage and areas where water or cleaning solution can be trapped.
- Check dissimilar-metal contact and the specified isolation arrangement.
- Repair protective finishes only under an appropriate procedure.
- Store replacement material clean and dry, with packaging suited to the storage conditions.
Use inspection history to set maintenance frequency rather than applying one universal cleaning interval. Recurrence at the same location is useful evidence of an unresolved exposure or design issue, not simply a need for stronger cleaner.
If Replacement Material Is Required
Provide the alloy, temper, dimensions, service environment and any photographs of the damage. The aluminium sheet and plate range can help identify relevant replacement forms, but changing grade or thickness requires approval where the original design specifies them.
Discuss Replacement Material Requirements
Finish-care reference: Kawneer—General Cleaning Information. This is general guidance, not a component-specific repair procedure.
Post time: Jul-16-2025